The practice and purpose of qualifying a tool is at the very core of scientific molding. This critical step ensures consistent and repeatable production of flawless molded parts by having engineers push the tool relentlessly under realistic conditions (and sometimes beyond). Their goal is to identify and correct weaknesses before the tool is called into action.
Here’s a look at the basic step-by-step process of scientifically qualifying a tool, with an emphasis on injection molding tools:
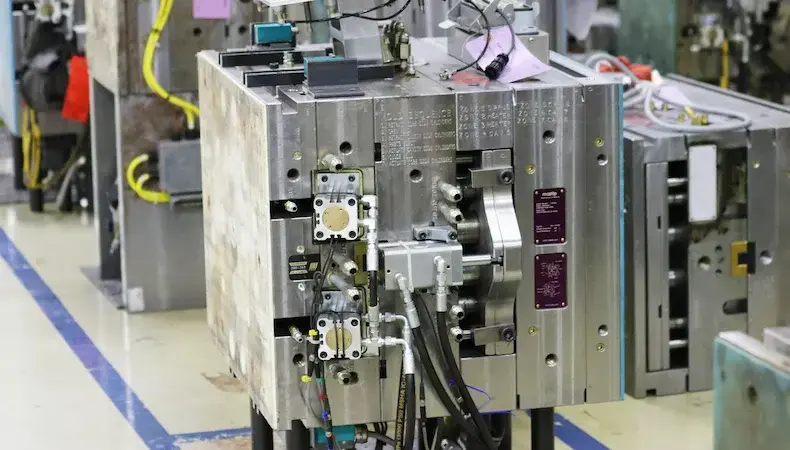
Step 1: The qualifying process begins with the tool being put into the press so that the toolmaker and molding engineer can thoroughly and systematically check every aspect of its mechanical functionality.
Step 2: Engineers develop the initial process and conduct short-shot testing to assess the dynamic pressure loss and, in a multiple-cavity tool, to check for any imbalance among the cavities. This step also accomplishes a crucial objective: establishing the rheology curve (or viscosity curve) to indicate the best fill rate and pattern.
During this step, engineers also use information from the material supplier, which typically includes a variety of recommended molding conditions. As an example, a recommendation for polypropylene (PP) might include:
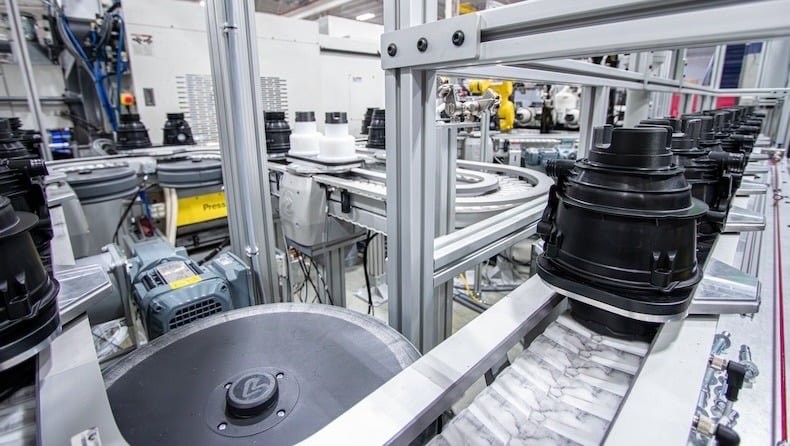
Step 3: The injection molding process is set up for further testing. At this point, gate seal studies are performed using both the pressure curve and the weight of the sample parts to determine if the gates seal fully. Molding engineers examine the test parts for any defects and record their findings, along with recommendations for any process or tool adjustments that need to be made. They also record data on the melt temperature, fill time, tool temperature, coolant flow, cycle time and pressure curve.
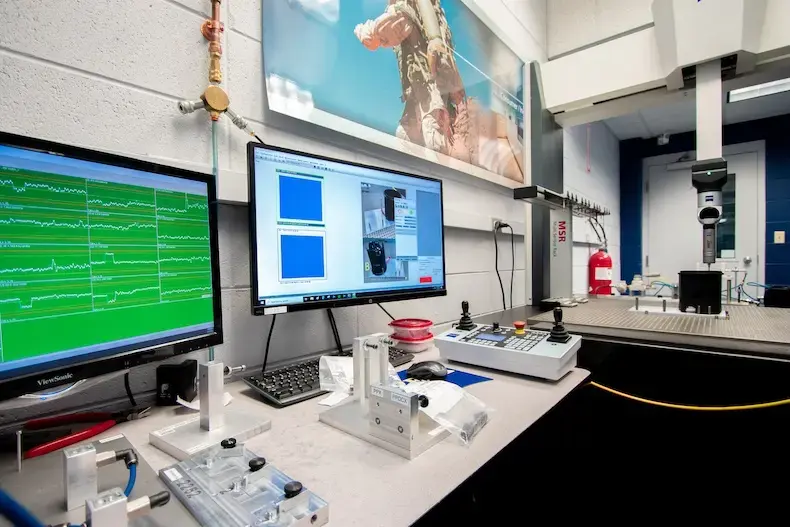
Step 4: The parts proceed to quality control for an examination of their measurements, shot-to-shot consistencies and overall quality. This is done so that any necessary tool adjustments are completed before new samples are made. The new samples then undergo the same quality testing, with necessary adjustments made again as needed.
Step 5: All of the process parameters are recorded, with their acceptable ranges shown, to form the template that will be followed throughout production to ensure consistent quality, efficiency and repeatability.
While it’s a fairly simple process, qualifying is one of the most important pre-production phases in injection molding; it’s the part of the injection molding process that ensures the tool performs exactly as expected. For a quick-reference resource on tool qualification, download our infographic below!


The 30-second Summary Medical molding needs validation when final results can’t be…
READ MORE
The 30-second Summary As RJG phases out eDart by 2030, Kaysun is proactively stagi…
READ MORE
Injection-molded parts and products are staples for OEMs in industries ranging fro…
READ MORE