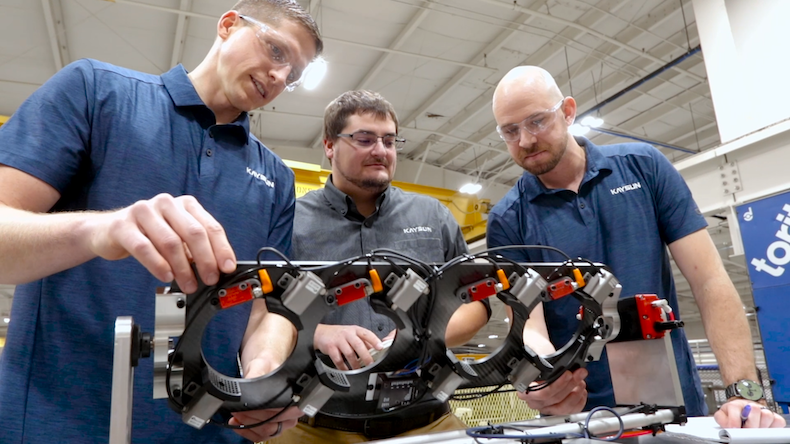
Successful custom injection molding requires process management that’s guided by expertise and precision timing. Tool and process engineers are front-and-center in the product and tool design phases, ultimately making decisions that guide the steps of injection molding. These are necessary to ensure consistent and repeatable manufacturability of defect-free injection molded parts.

The upfront investment of time and knowledge by the joint team of engineers from the injection molder and OEM is crucial in informing the injection molding process, wherein the product and tool designs are brought together with project-specific resins. Breaking down injection molding step by step illustrates how all phases work together in an injection molding cycle to achieve successful outcomes.
How does an injection molding machine work?
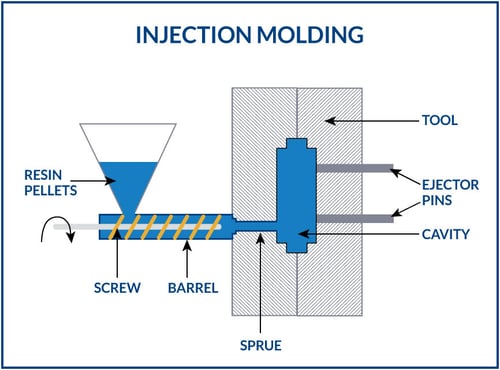
- The tool closes, signifying the start of the injection molding cycle. Resin pellets are fed from a hopper into the barrel.
- The screw rotates to auger the pellets forward toward the tool. The resulting friction plus barrel heaters cause the pellets to melt. The screw is pushed forward and injects the material at the force and speed necessary to properly fill the tool cavity. During this step, it is imperative that displaced air escape through the vents and parting line designed into the tool for this purpose. Miscalculation or malfunction of these air release points could introduce defects and waste.
- After the tool cavity is filled, the resin must be allowed to cool. Water is cycled through the tool to maintain a consistent temperature while the material hardens. Cooling times vary based on the plastic used and part thickness.
- While the injection-molded plastic part is cooling within the tool, the screw retracts and reloads with melt in preparation for the next injection. Heaters within the barrel screw keep the melt plasticized at its designated temperature.
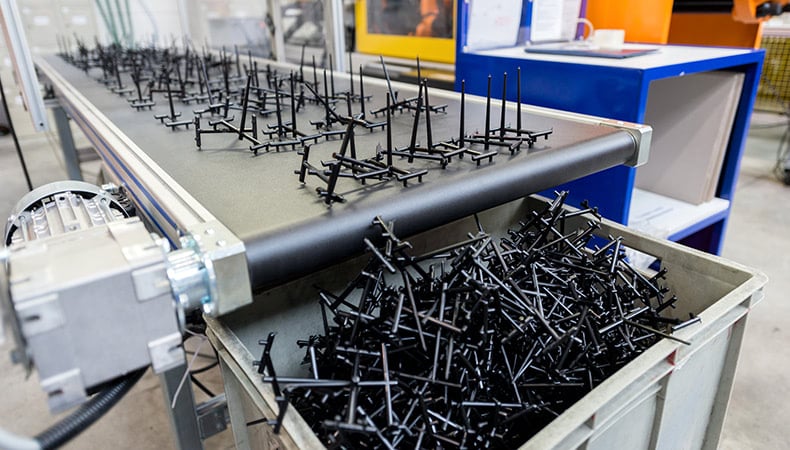
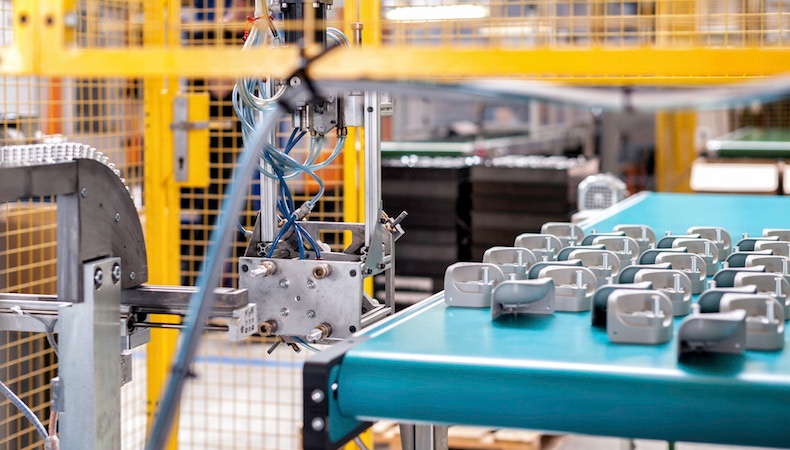
- Once the molded material reaches its ideal ejection temperature, the tool opens and the part is pushed out by the forward motion of the ejector rod and pins. The part can be extracted by a robot, manual operator, or falls freely into a bin underneath the tool.
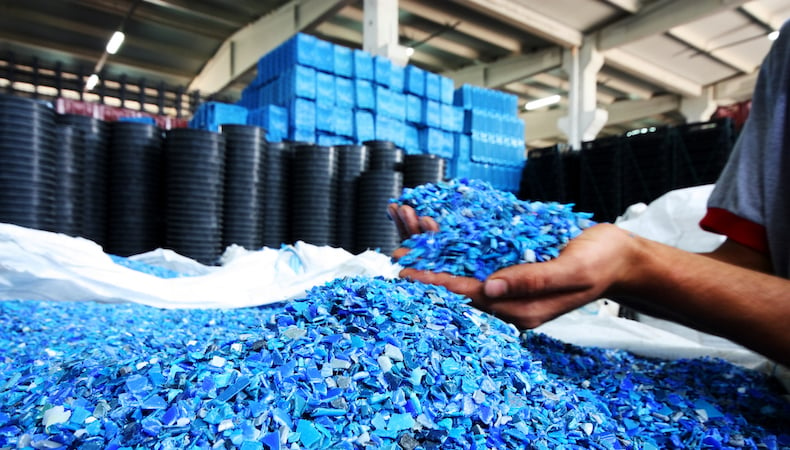
- Sometimes, the molded parts have pieces attached called runners. Runners are simply extraneous material that gathers in the channels that the melt takes on its way to filling the tool cavity. Runners are either manually or robotically detached from the usable part, and usually ground and recycled to reduce costs and protect the environment. The injection-molded plastic parts are ready for inspection, packaging, and shipment.
As you've seen, the steps of injection molding are many and complex. To learn more about how specialized engineers oversee each part of the process, download our Scientific Molding guide, below!

Subscribe
TO OUR BLOG

4 Factors That Reveal an Injection Molder’s Plastic Engineering Bandwidth
There’s no one indicator that points to a custom injection molder’s readiness and …
READ MORE
The Bottom Line on Custom Injection Molding TCO vs. Per-Part Quotes
Complex applications typically require custom injection molding solutions. It’s an…
READ MORE
How to Design for Sustainable Injection Molding: Values, Materials & Processes
Sustainability is an increasingly urgent concern for businesses. On one hand, cons…
READ MORE